If you want your car to last longer and run cooler, maintaining your cooling system is essential. One of the most important parts of this maintenance is learning how to flush an engine block properly. Whether you are dealing with coolant blockage, an overheating car engine, or simply performing routine service, flushing the engine block helps remove rust, scale, and old coolant that can clog the system. Many drivers wonder whether a radiator flush can cause problems. The truth is that skipping this maintenance task causes far more issues than performing it, especially if your vehicle hasn’t had a coolant change for several years.
Your radiator and engine block work together to circulate coolant and regulate engine temperature. Most experts recommend draining and replacing coolant every 5 years or 100,000 miles. Performing a full flush using distilled water before adding new coolant helps eliminate accumulated debris, corrosion, and sludge inside your cooling passages. A neglected system will eventually clog, overheat, or even crack important engine components. Below is a clear and straightforward explanation of how to flush an engine block correctly.

Tools and Materials You Need
Before starting the process, gather all the necessary tools:
Tools:
- Large drain pan
- Funnel
- Wrench
- Screwdriver
Materials:
- 4 gallons of ready-to-use antifreeze
- 2 gallons of concentrated coolant
- 2 gallons of distilled water
Step 1: Locate the Radiator
Open your car’s hood and find the radiator, which is usually positioned at the front of the engine bay. It looks like a wide, flat, metal component with thin fins. Locate the radiator cap, usually labeled “coolant” or “radiator coolant.” This cap will be the entry point for flushing the system and refilling it later.
Step 2: Drain the Radiator
Slide under the vehicle and look for either a drain valve (petcock) or the main lower radiator hose. Position the drain pan beneath the valve or hose, then loosen the clamp or open the valve. Allow the coolant to drain for about 10 minutes, or until it slows to a drip. This removes most of the old antifreeze but leaves behind residue that you will flush out in the next step.
Step 3: Perform the Radiator and Engine Block Flush
Once drained, reattach the hose or close the drain valve. Remove the radiator cap and pour distilled water into the radiator until it is full. Tighten the cap and start the engine, letting it run for 10 –15 minutes. The water circulates throughout the cooling system – including the block – helping remove rust flakes, scale, and old coolant deposits.
Turn the vehicle off and carefully drain the system again. This time, much of the dirty water, rust, and debris will exit into the drain pan. Once the flow slows, close the valve or reattach the hose securely. This completes the flush and prepares the system for fresh coolant.
Step 4: Add Fresh Coolant
Open the radiator cap and insert your funnel. Most vehicles require a 50/50 mixture of concentrated antifreeze and distilled water, but always consult your owner’s manual to confirm. Fill the radiator, then check the overflow tank and fill to the recommended level. This tank helps maintain pressure and coolant balance as the engine heats and cools.
Start the engine again to circulate the coolant and check for leaks. If no leaks appear and the temperature gauge stays normal, your flush has been successful.
Step 5: Top Off Coolant Levels
Turn the engine off and allow it to cool. Remove the radiator and overflow caps and add more coolant mixture if needed. The fluid should sit slightly below the service line in the overflow reservoir. Once filled, reinstall the caps and your coolant flush is complete.
Common Signs of Engine Block Issues
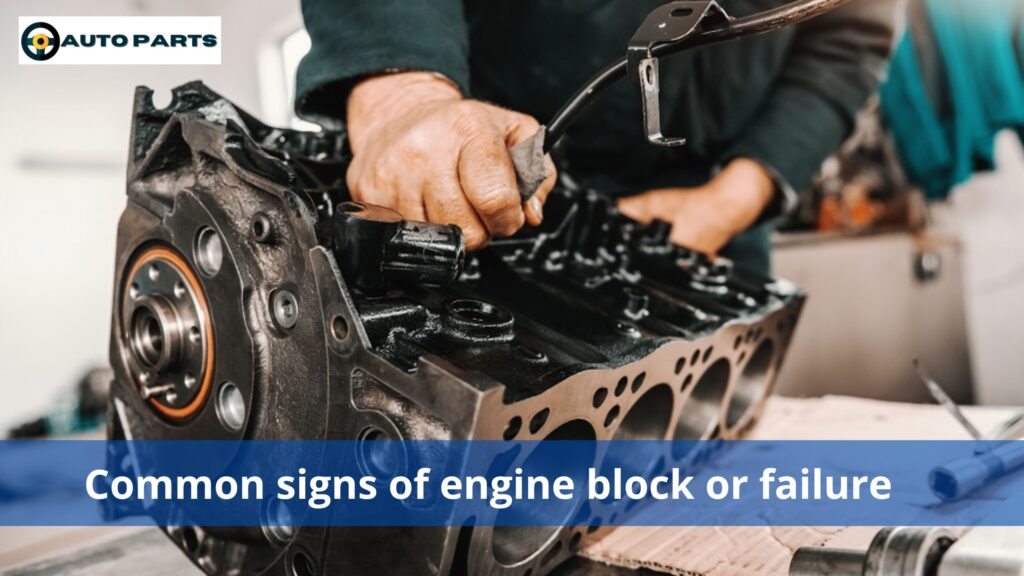
Flushing the engine helps prevent serious problems, but sometimes issues like clogged passages or even a cracked engine block can still occur. A cracked block is one of the most serious failures a car can experience. It is often confused with a blown head gasket or cracked cylinder head because the symptoms overlap. But a cracked block is more severe and can require a full engine replacement.
What an Engine Block Does
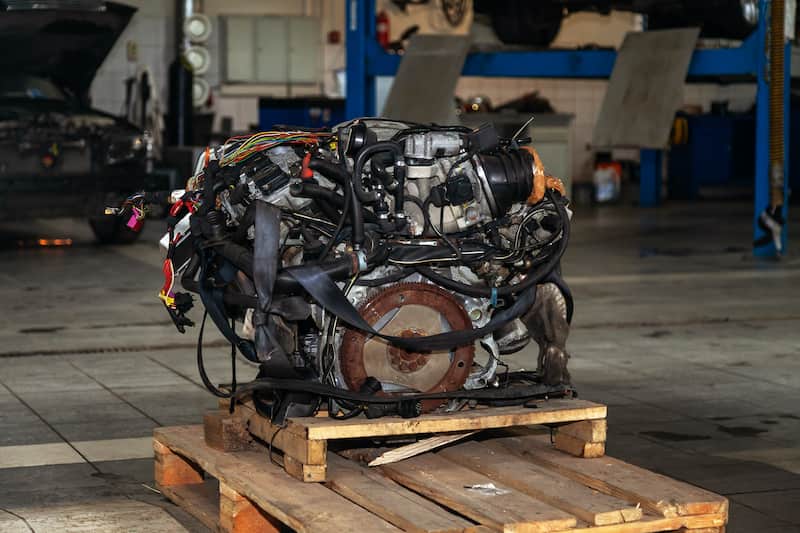
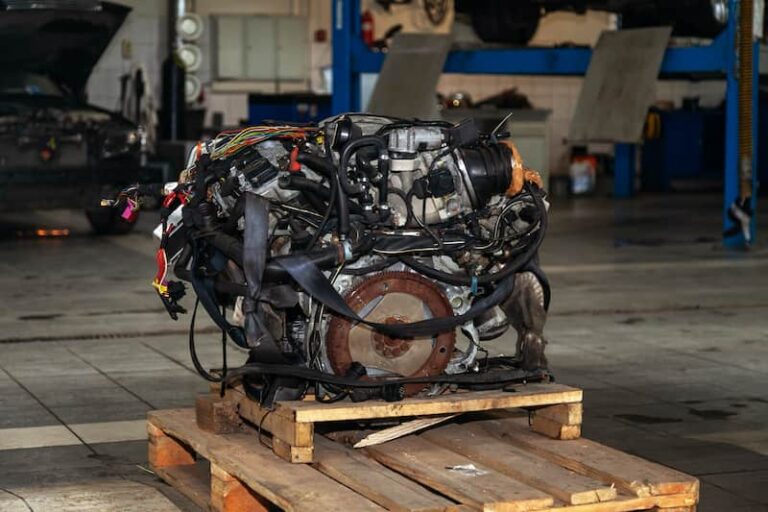
The engine block, made of cast iron or aluminum, forms the lower half of the engine. It houses major components including the crankshaft, pistons, connecting rods, and sometimes the camshaft. Coolant passages also run through the block to manage engine temperature.
Symptoms of a Cracked Engine Block
Because symptoms overlap with other problems, it’s important to diagnose carefully.
1. White Smoke from Exhaust
If coolant leaks into the combustion chamber through a crack, it turns into steam and exits through the tailpipe. This smoke often has a sweet smell.
2. Coolant or Oil Leaks
A crack can allow coolant or oil to leak externally or mix internally. This leads to milky oil, overheating, or rapid fluid loss.
3. Engine Overheating
Cracked blocks disrupt coolant flow, causing persistent overheating even when you have enough coolant.
4. Rough Running or Misfires
Loss of compression from internal cracks can cause misfiring and rough idling.
5. Bubbles in the Cooling System
Combustion gases entering the cooling system create bubbles and excessive pressure.
Dashboard warning lights may also illuminate when the block is compromised.
Causes of Engine Block Cracks
The primary cause is overheating. Excessive heat warps metal and creates stress fractures. Another common cause is freezing temperatures when coolant contains too much water and not enough antifreeze. Water expands as it freezes and can crack the block. Some vehicles, such as certain Honda Civic models, have known casting flaws that increase crack risk.
Testing for a Cracked Engine Block
A mechanic may perform several tests:
- Visual Inspection – Sometimes cracks are visible externally.
- Cooling System Pressure Test – Pressurizing the system reveals leaks and allows inspection using a borescope.
- Block Tester – A fluid-based tester placed over the radiator neck detects combustion gases in the cooling system.
- Engine Tear-down & Machine Shop Testing – In severe cases, the engine is disassembled and checked using dye penetrant or magnetic particle inspection.
If the block is cracked, most modern repair shops recommend replacing the engine rather than welding or sealing it.
FAQs
Most engine flush additives should only remain in the engine for 10–15 minutes while idling. Leaving them longer may damage seals or loosen too much debris at once.
No. Kerosene can damage engine components and cause misfires. Use a proper engine flush product designed for internal cleaning.
No. Using plain water – especially tap water – causes corrosion and mineral buildup. Always use distilled water when flushing the system.
Not always, but it’s beneficial when sludge buildup is present or when the engine has gone long intervals without an oil change.
Depending on vehicle type, replacing a block typically costs $4,000 – $8,000, including labor.
